Saturday, 3 October 2020

The Gouzouki Project - Head Inlay

Does it get any more nerve wracking than drilling into your lovingly crafted neck?

I marked out and drilled for the tuners this morning. I trial fitted the tuners but they won't be finally fitted until after the finish is applied.


If I thought drilling for the tuners was nerve wracking.... time to do the logo inlay 😳.

I wanted something to reference the Faith heritage and found this ‘n ’ that was in a similar style. I cut it out from a piece of figured maple veneer using the modelling fret saw I inherited from my Dad. I have used so many of his old tools doing this - it's a lovely way to remember him 🙂.


I transferred the outline onto masking tape and then scored the outline into the rosewood head veneer.


I bought a rudimentary router fitting for the Dremel and routed out as much of the shape as I could, using a magnifying glass (Dad’s again 😀) to help, then carved the fine details using modelling knives.


After lots of very careful trimming the insert dropped in. I glued it in place and filled around the edge using a filler made from the rosewood veneer sawdust. (I have learned to collect sawdust from the various different parts as I go along, in case I need to make any little filler repairs etc.)


After it dried, sanding back the maple and filler to the same level revealed the logo in all it’s glory - not perfect but I’m pretty happy for a first attempt
😀


The Gouzouki Project - Carving the Back of the Neck

Some more new tools arrived 😃. A spokeshave, to help carve the round shape on the back of the neck, and a new, decent quality tenon saw because a bad workman always blames his tools and I definitely messed up cutting the tenon in an earlier blog entry because of my old saw - nothing to do with me, honestly!


I was dreading shaping the back of the neck, but actually really enjoyed this part.

Basically, you carve progressively smaller facets; so I marked up down the back and sides of the neck for the first facet and then took that off using a combination of spokeshave, chisel and rasp. Once again, it's really important to keep the centreline reference, so it all stay symetrical.

Once that was done, you take further facets off until it approaches a round shape and then I used sand paper to get it properly smoothed. The best thing I found was a piece cut off a spare belt sander belt and then used it almost like you do when drying your back with a towel, so it kept a consistent shape on both sides.


The heel shape just sort of came naturally by creating a smooth transition from neck to body.
Once the shape was there, I used progressively finer sandpaper to get it smooth. I’ll save the finest one for just before I start finishing it.


I couldn’t resist taking some photos comparing the old and new necks, and they illustrate quite well the thinner bouzouki neck.


The Gouzouki Project - Installing the Frets

When I removed the old frets, I carefully kept them in the same order, so that I knew the higher end ones would fit. Each fret needed a slight curvature to be put back into it and I did this very carefully by supporting one edge in the vice and a bit of finger pressure on the other end, moving progressively down the length of it. Not conventional but it seemed to work OK.

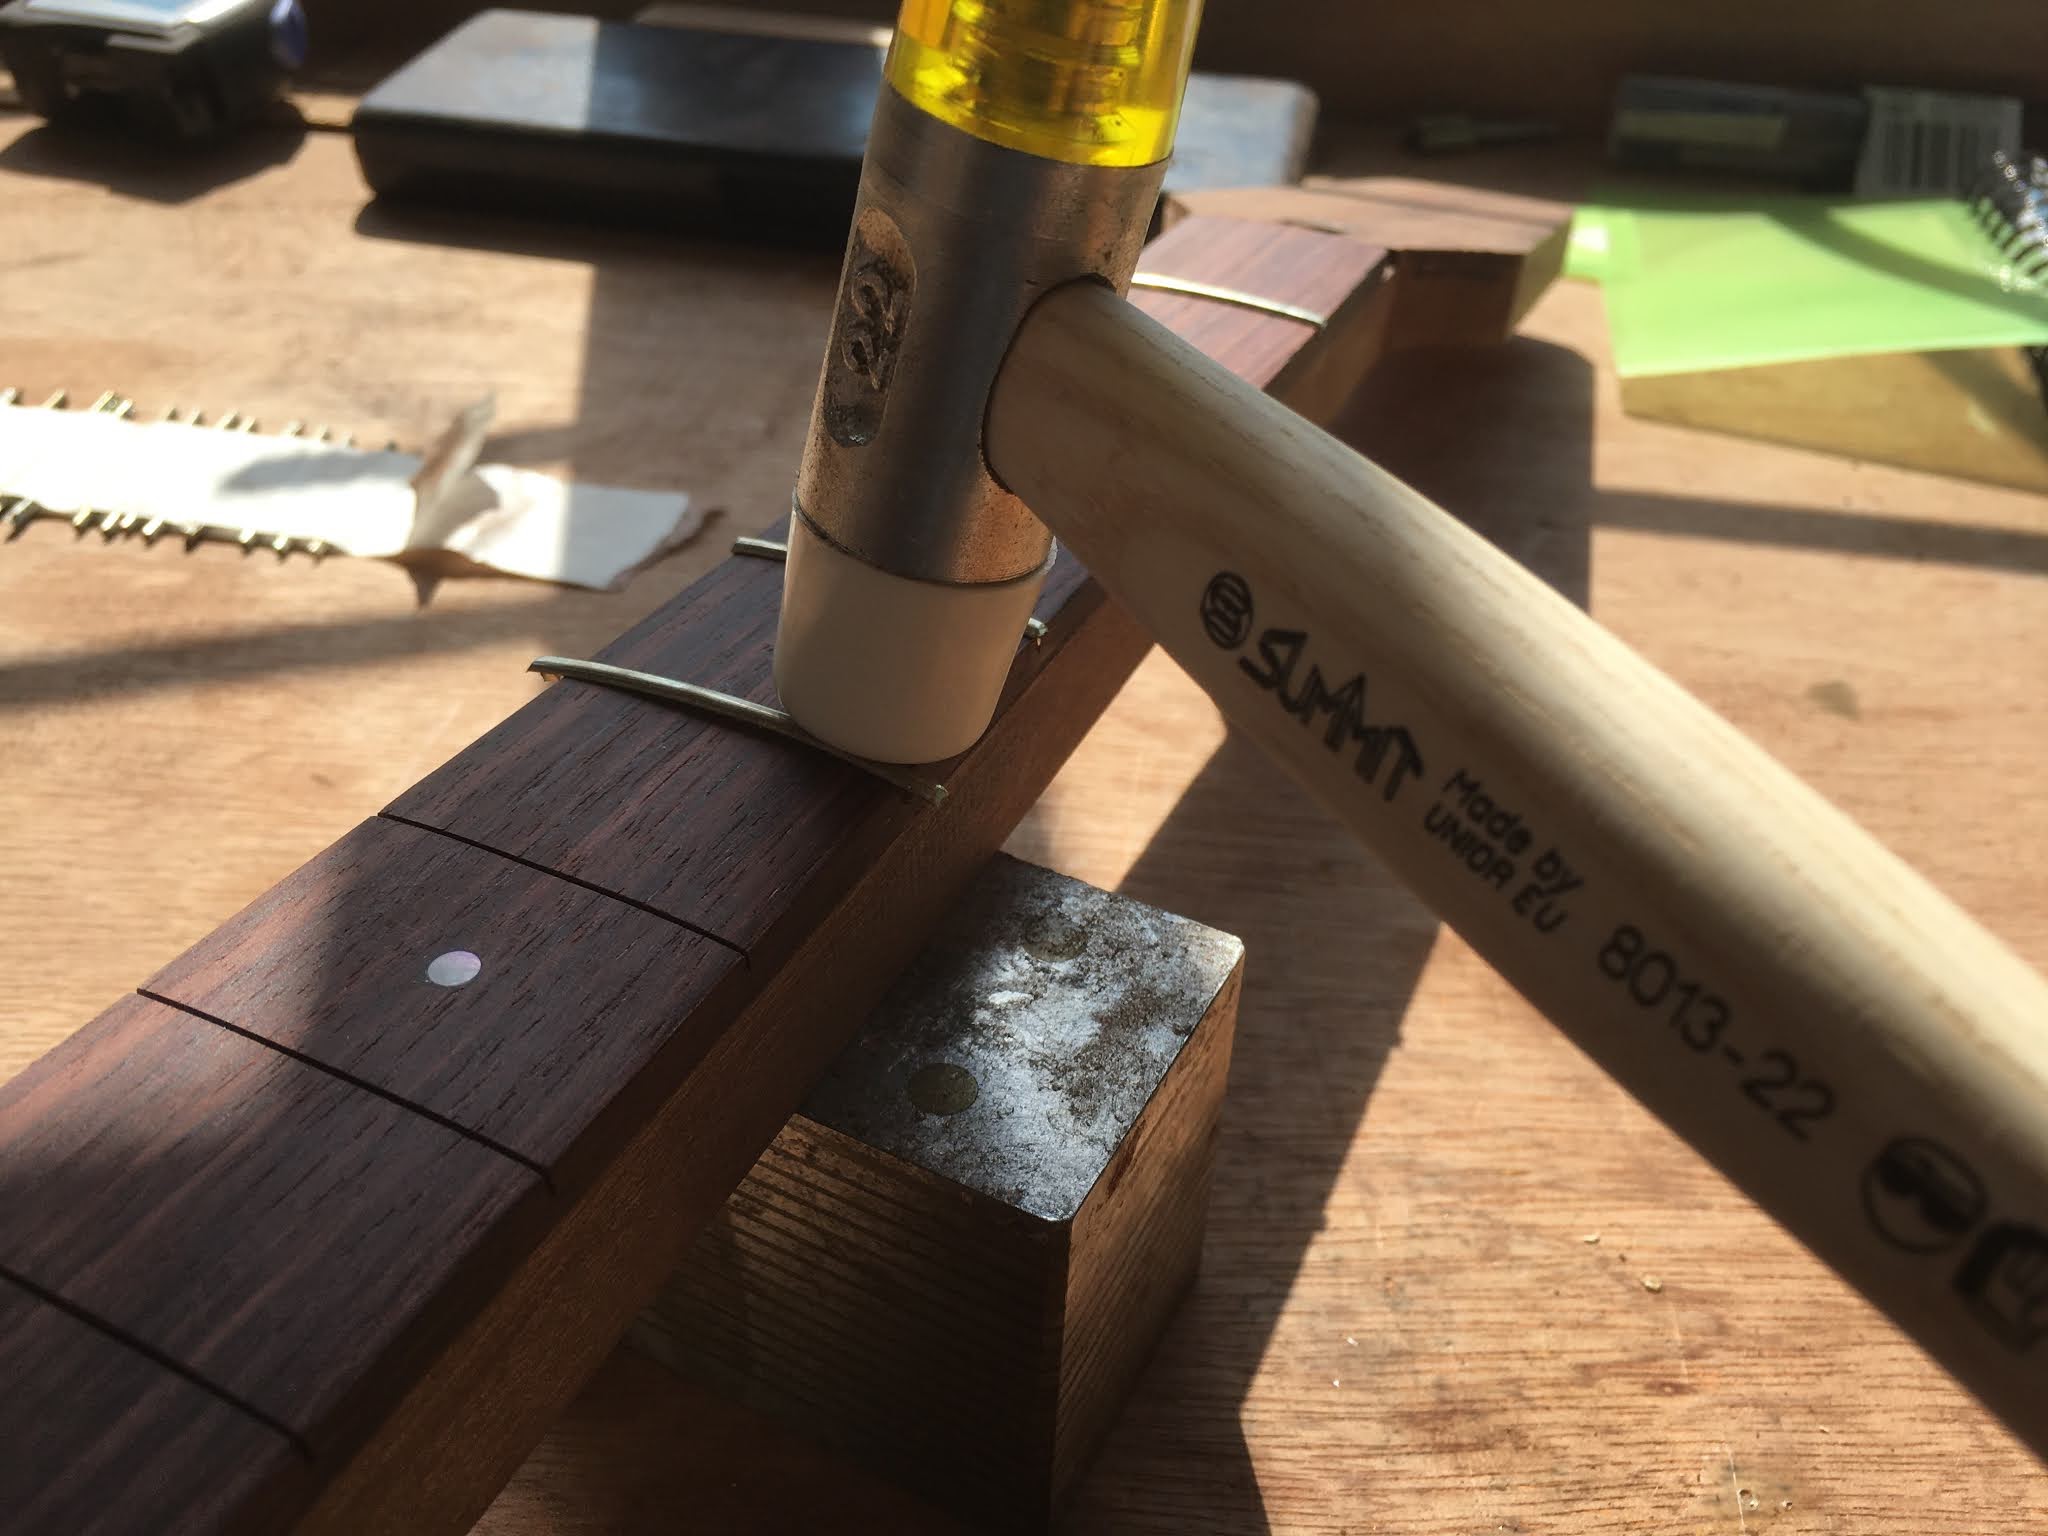
The method of installing is to tap each edge in to the slot to locate it and then work from the centre back out to the edges. Then I snipped off the fret wire close to the edge of the board, using the modified flush-cutting pincers. I supported the neck really well under each location.


The next specialist tool I've bought is this fret hammer. It has a hard and soft face and the white face is a kind of "dead-weight". Not sure how that works, but they went in well!


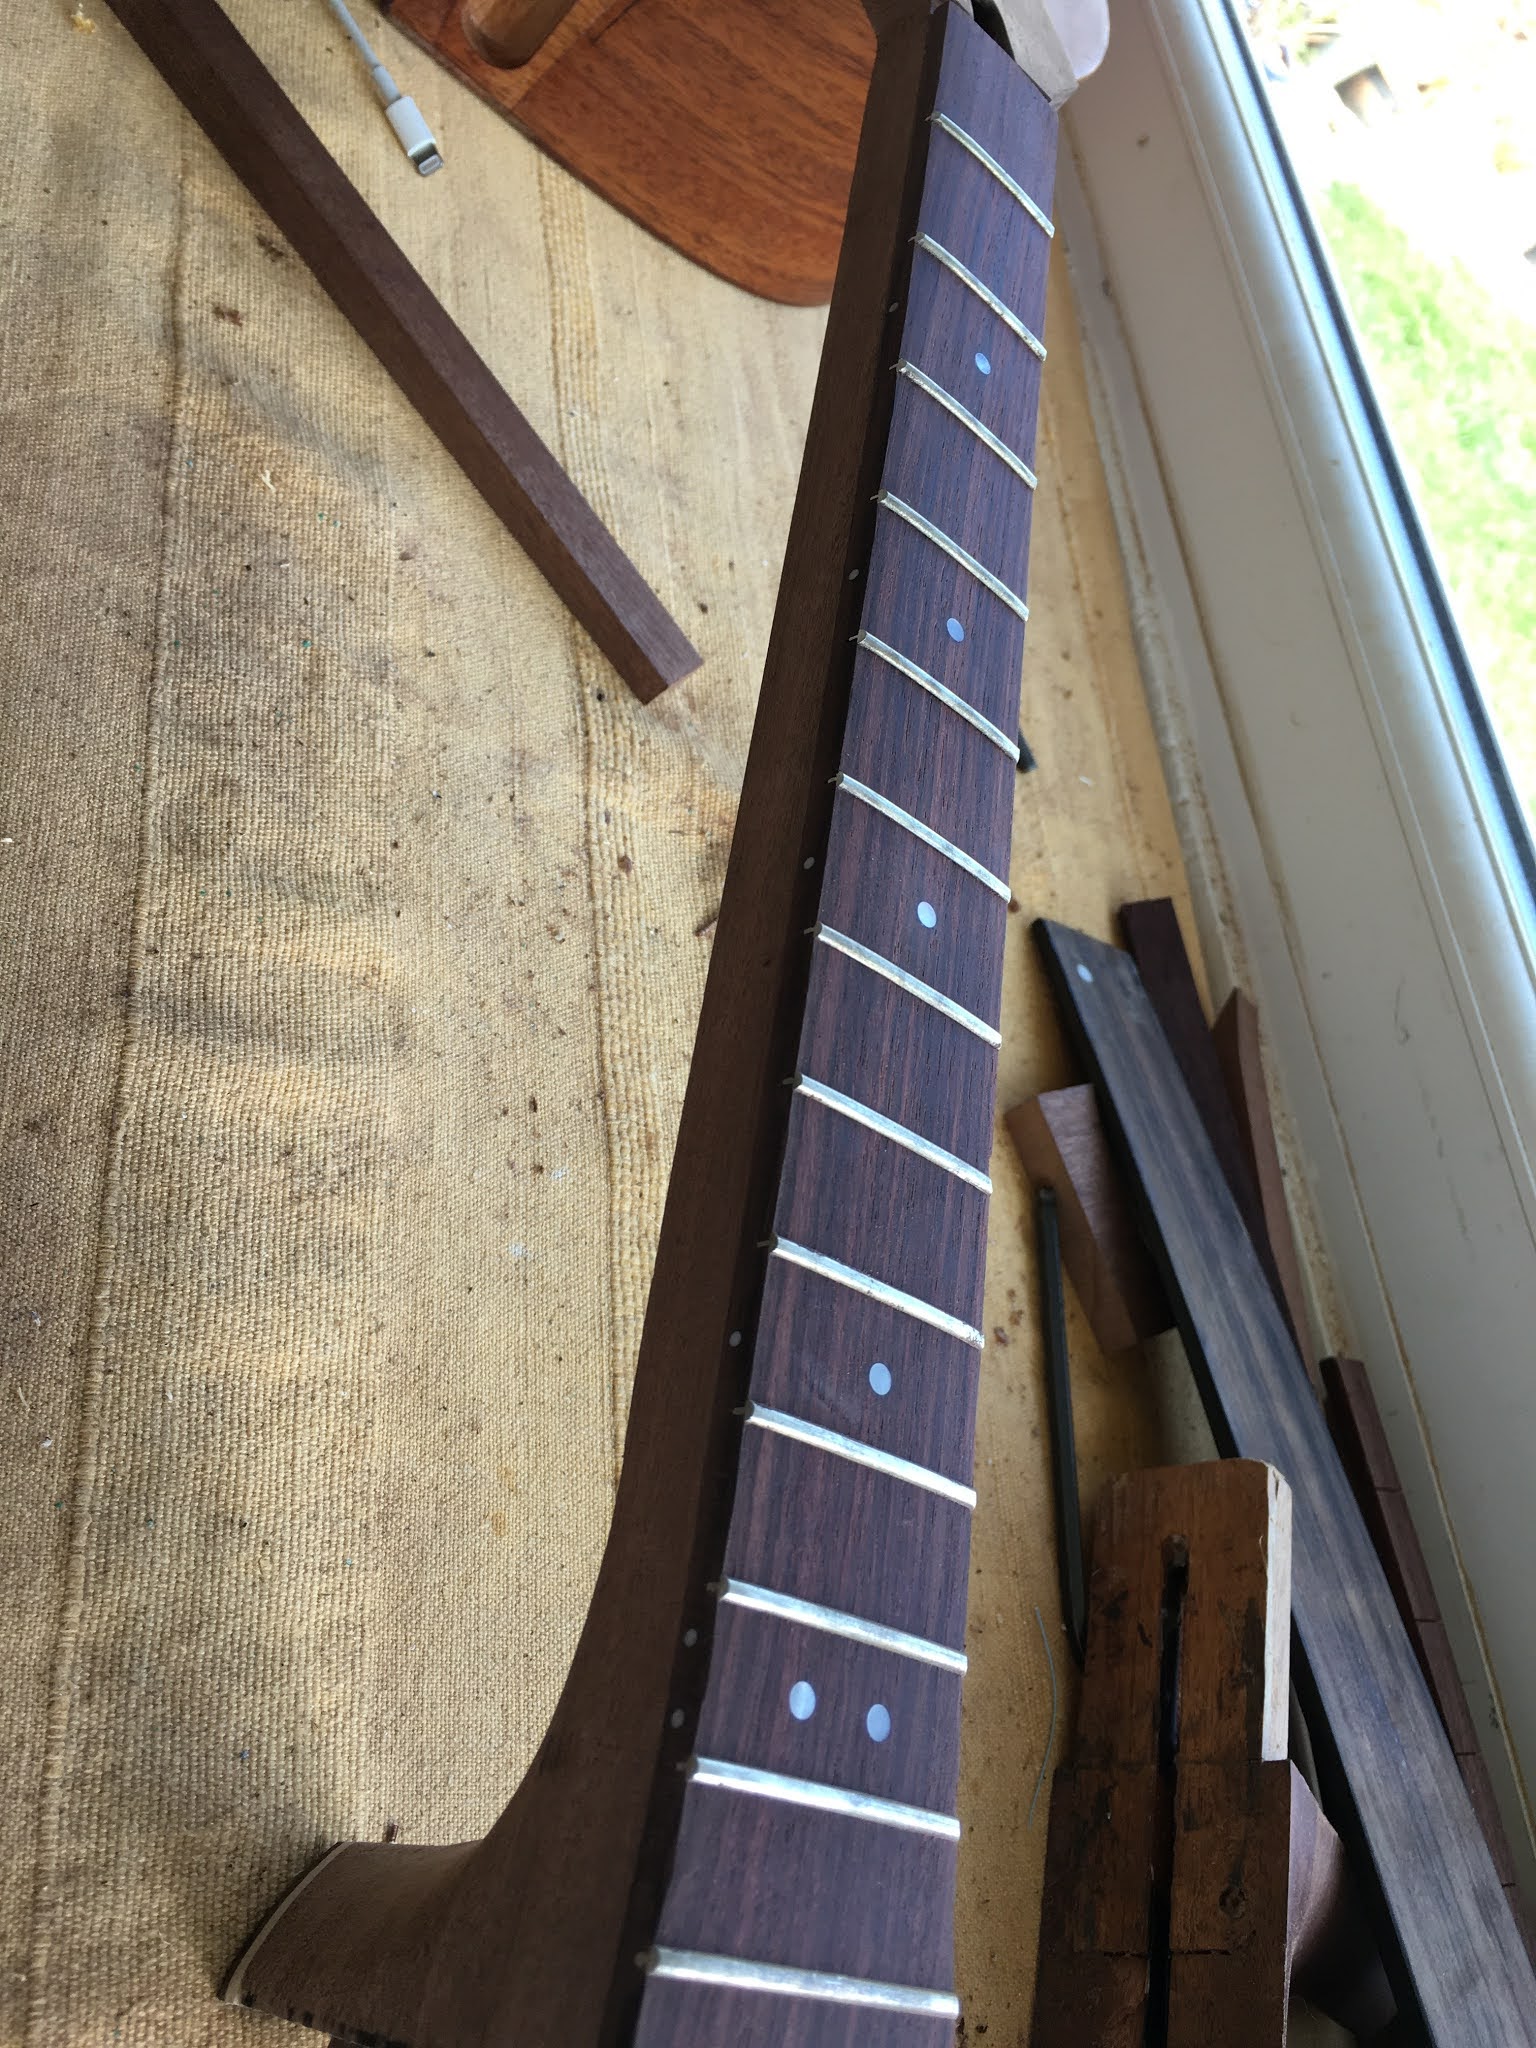
All of the frets now installed and glinting in the sun!


Once all done, I filed the fret ends level with the fingerboard and then put a bevel on the end of each one so my fingers don’t catch on them.


When I’ve put a straight edge along the tops of the frets they all seem fairly well aligned, so hopefully this recycling experiment will be successful.


Couldn't resist refitting the neck again to see how it looks 😀


Friday, 2 October 2020

The Gouzouki Project - Fingerboard Profiling and Dot Markers

Two final jobs to do before I can install the frets now

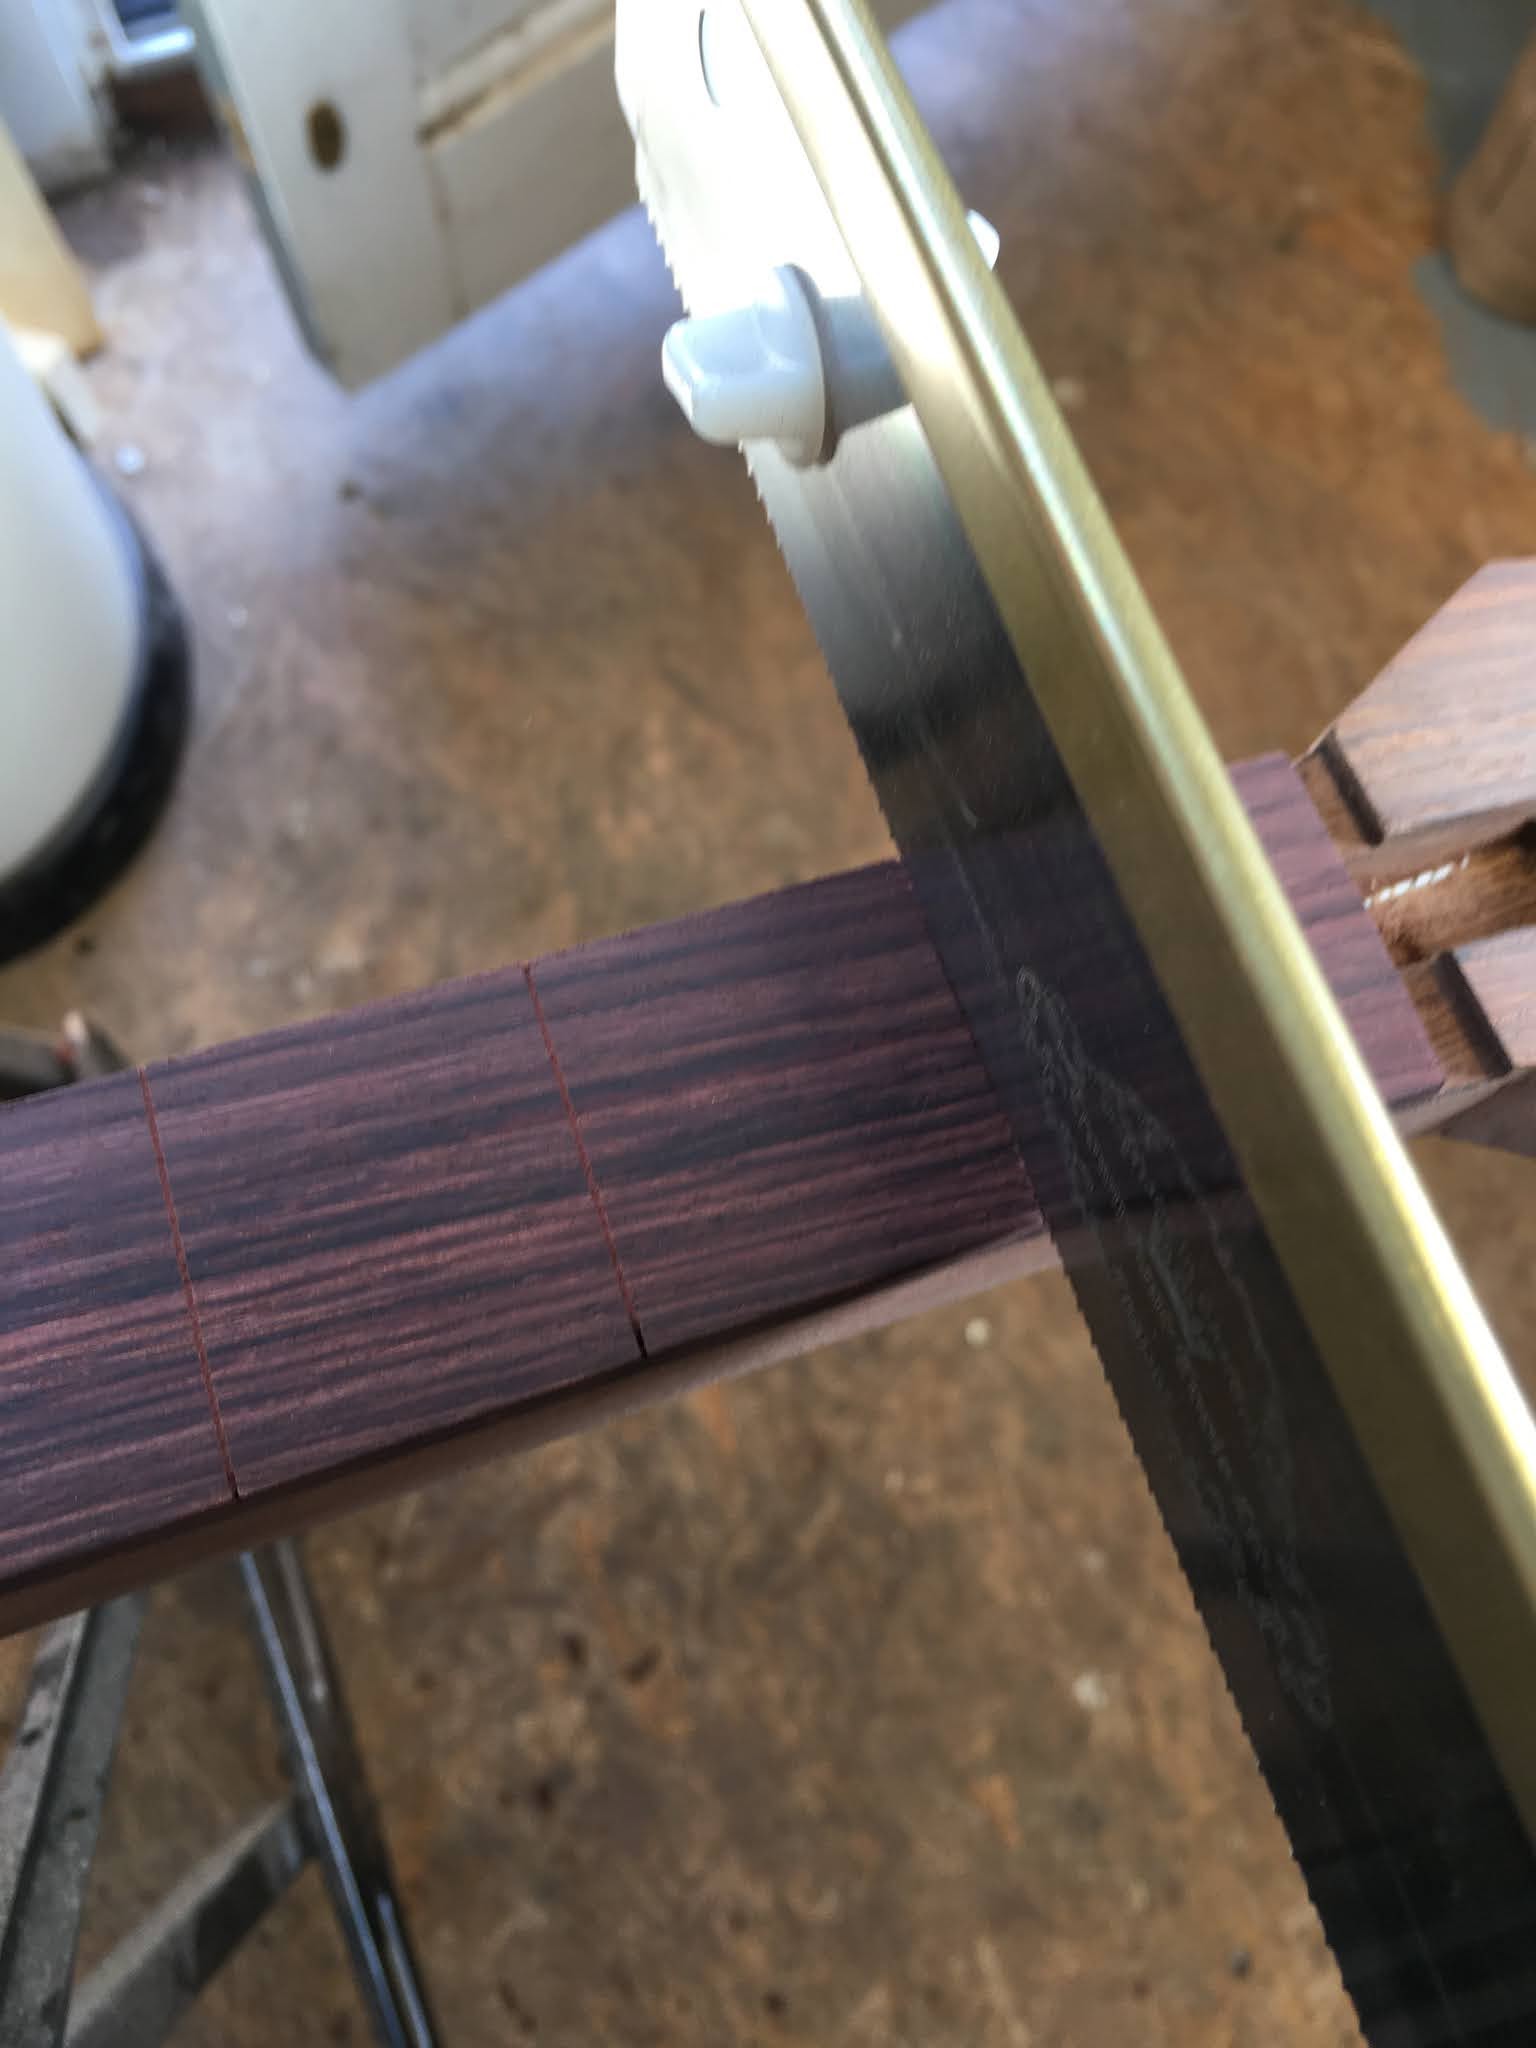
The first is to gently plane and sand a curve across the fingerboard. I spent a while getting the plane blade super sharp last weekend in preparation and then basically planed two very shallow facets on each side. Then sanded with a big flat sanding block I made. It’s only maybe 1 - 1.5 mm shallower on the sides but that equates near enough to the right radius of curve. Then I recut the fret slots to make sure the edges were deep enough.


Next I marked out the locations of the position dots and carefully drilled shallow holes using a brad point drill to keep accurate.


Then I did the same thing on the side of the fretboard, but these are shallow 2mm dia holes.


The side markers are made from 2mm plastic rod. A blob of super glue in each hole, then push the rod in and snip off.


Same with the fret markers but they were bought dots (mother of pearl I think but I can't honestly remember!)


Then everything is carefully trimmed and sanded back flush - looking lovely!


The Gouzouki Project - How it Sounds Compared to Guitar and Bouzouki

Now that the Gouzouki project is finished, I thought it would be nice to compare guitar, bouzouki and gouzouki sounds. It’s not really a par...