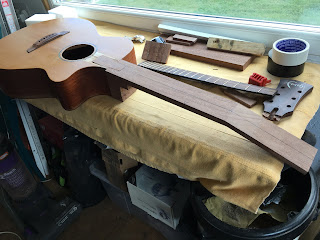
So to refresh memories from many months ago, I had decided to use my Faith Venus project as a basis for a conversion to a "Gouzouki" (or Bouzar as some unkind people have suggested such a bizarre instrument should be called). I'm building it, so I've decided it's a Gouzouki!
This is my first venture into building from scratch, so somewhat apprehensive, but there's also not too much money invested in it and it will be a learning experience, whatever happens.
The guitar neck had been removed from the body in the previous post, so now all I had to do was:
- build a new neck to suit bouzouki width and 2 extra strings
- adapt the fingerboard to suit the new width
- adapt the bridge to suit 2 extra strings in dfferent spacings
- adapt the bridge to suit the different tuning
How hard can it be?
I found a nice piece of sapele (a type of mahogany) locally with a straight grained section long enough for the neck.
This was the first time I used the thicknesser, other than initial playing, to bring the neck blank down to the right dimensions and make sure it was all square etc.
I needed to create a "scarf" joint where the head joins the neck and creates a "break angle for the strings to apply pressure to the nut. First you make a 15deg cut across the length.
Then flip the wood over and lay one on top of another, as in the picture, before planing that sloping surface smooth and flat.
I'd bought a nice Stanley block plane for this and it's becoming one of my favourite tools.
Next, the head piece gets glued onto the back of the neck. (The plastic is to stop it being glued to the workbench!)
This next picture shows the new neck blank against the old Faith neck. You can see that the Faith neck has a relatively shallow head angle and I haven't been able to find out why, as most other guitars seem to be more like the 15deg I have used. The bouzouki book says 15deg, so that's what I stuck with.
Now shorter strips of the sapele are stacked and glued onto the blank to make the heel block. A big lesson learned is that glueing them and clamping all at once was like trying to keep a bunch of slippery eels under control! Next time I'll glue and clamp them one by one.
You need to end up with one face square to the neck so I ran it through the planer a couple of times.
Now, trim the head piece down to roughly the right length, leaving room to finalise later.And then plane the head down to the right thickness, after allowing for the thickness of the head veneer that will be glued on in a later step. This is followed by planing the length of the neck down to the right thickness, which is thicker at the heel end than the head end.
One of the other tools I bought was a second hand Stanley bench plane (apparently better quality than new ones). I spent a very nice afternoon in the workshop teaching myself from YouTube videos how to get them nice and sharp. That's still a work in progress, but I could get them taking really fine shavings off, which is something that I'd never managed before! I highly recommend this website to learn more: https://paulsellers.com/knowledge-base/bench-planes/
There is something very satisfying about walking through a floor of shavings after an afternoon in the workshop!
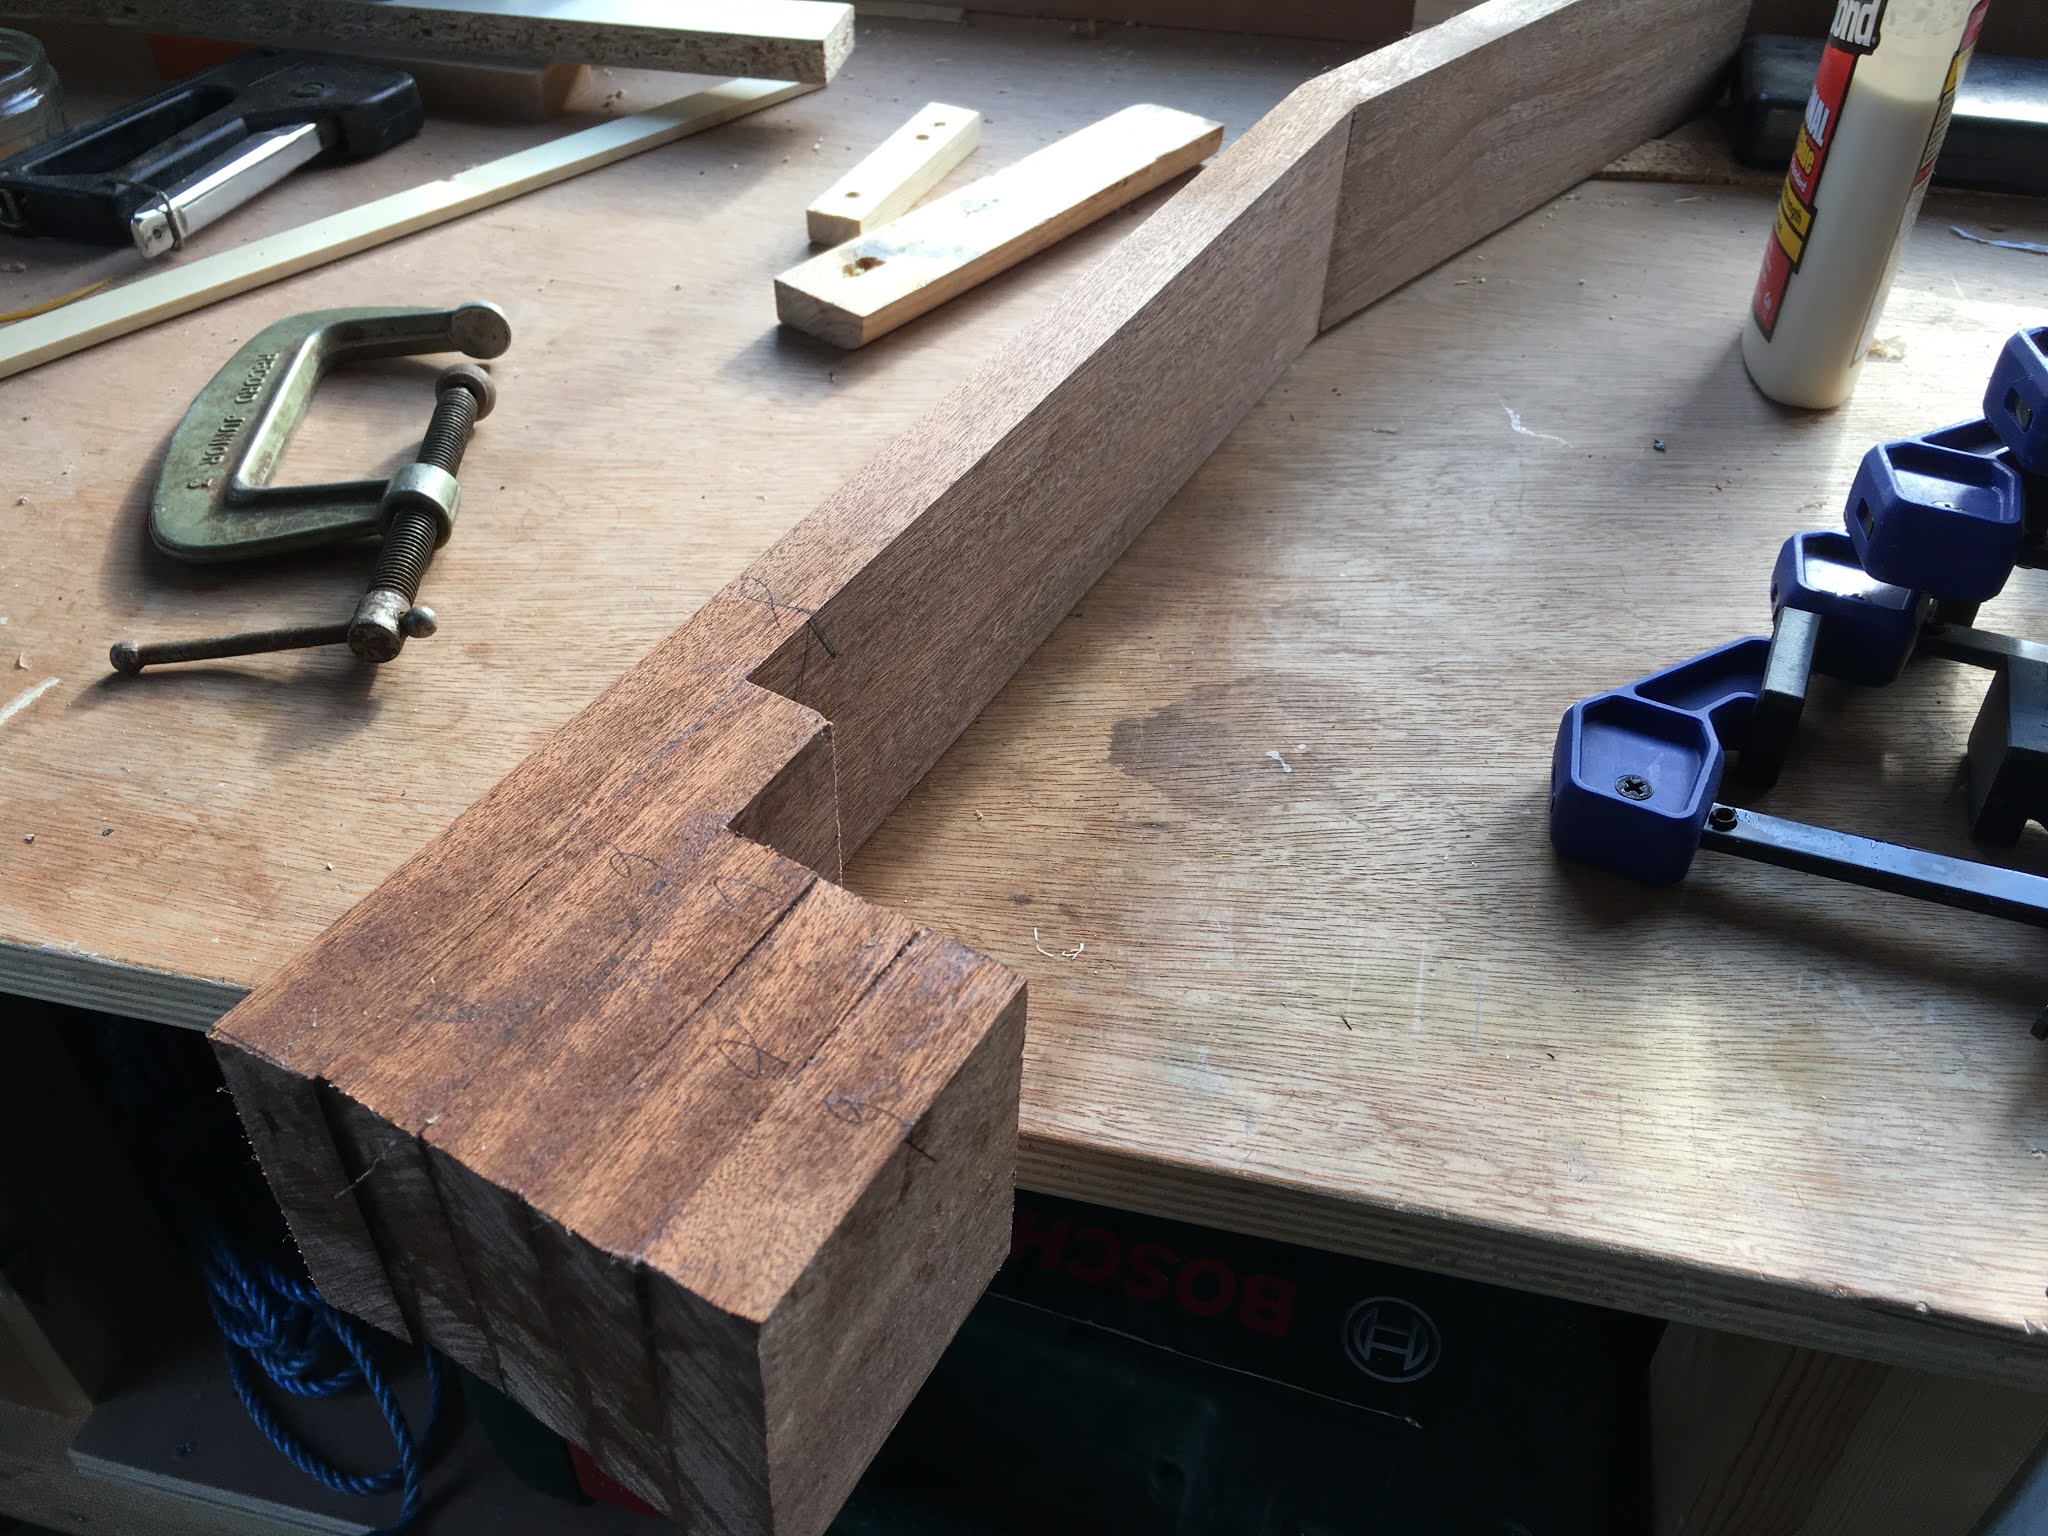
Back to the heel now and this photo shows what I am tying to recreate. I need to reproduce the tenon joint and, later on, the shape of the heel. Can't say I wasn't very anxious at this point!
It's important to have a reliable centre line, otherwise the new neck will never sit right on the old body.
After some very careful measuring, marking and cutting, I had the tenon cut and the neck sits in roughly the right place on the body. NB The angle between body and neck isn't quite 90deg. It's probably only 1deg less but that is important in terms of how the neck related to the bridge.
You know, this might just work!