Friday, 2 October 2020

The Gouzouki Project - Making the Fingerboard

I had originally intended adapting the original Faith fingerboard but, when I removed it, I realised that it really wasn't in good enough condition. To be fair, I've steamed it off twice, plus it had already had one neck repair attempt before that, so not surprising that it was a bit out of shape.

So I had bought a rosewood blank to make a new fingerboard. I could have bought a pre-slotted fingerboard, but decided that I should build from scratch to have a practice. The scale length of the gouzouki will be the same as the original guitar, so all of the fret spacings will be copied from that.

I did decide to re-use the original frets though as a) they had very little wear, b) I would have to level and re-profile new frets anyway, and c) the new neck is narrower than the original so I knew they would be wide enough.

Removing the frets was just a case of getting a sharp chisel undermeath and gently easing them out. The last photo shows the difference in neck width.


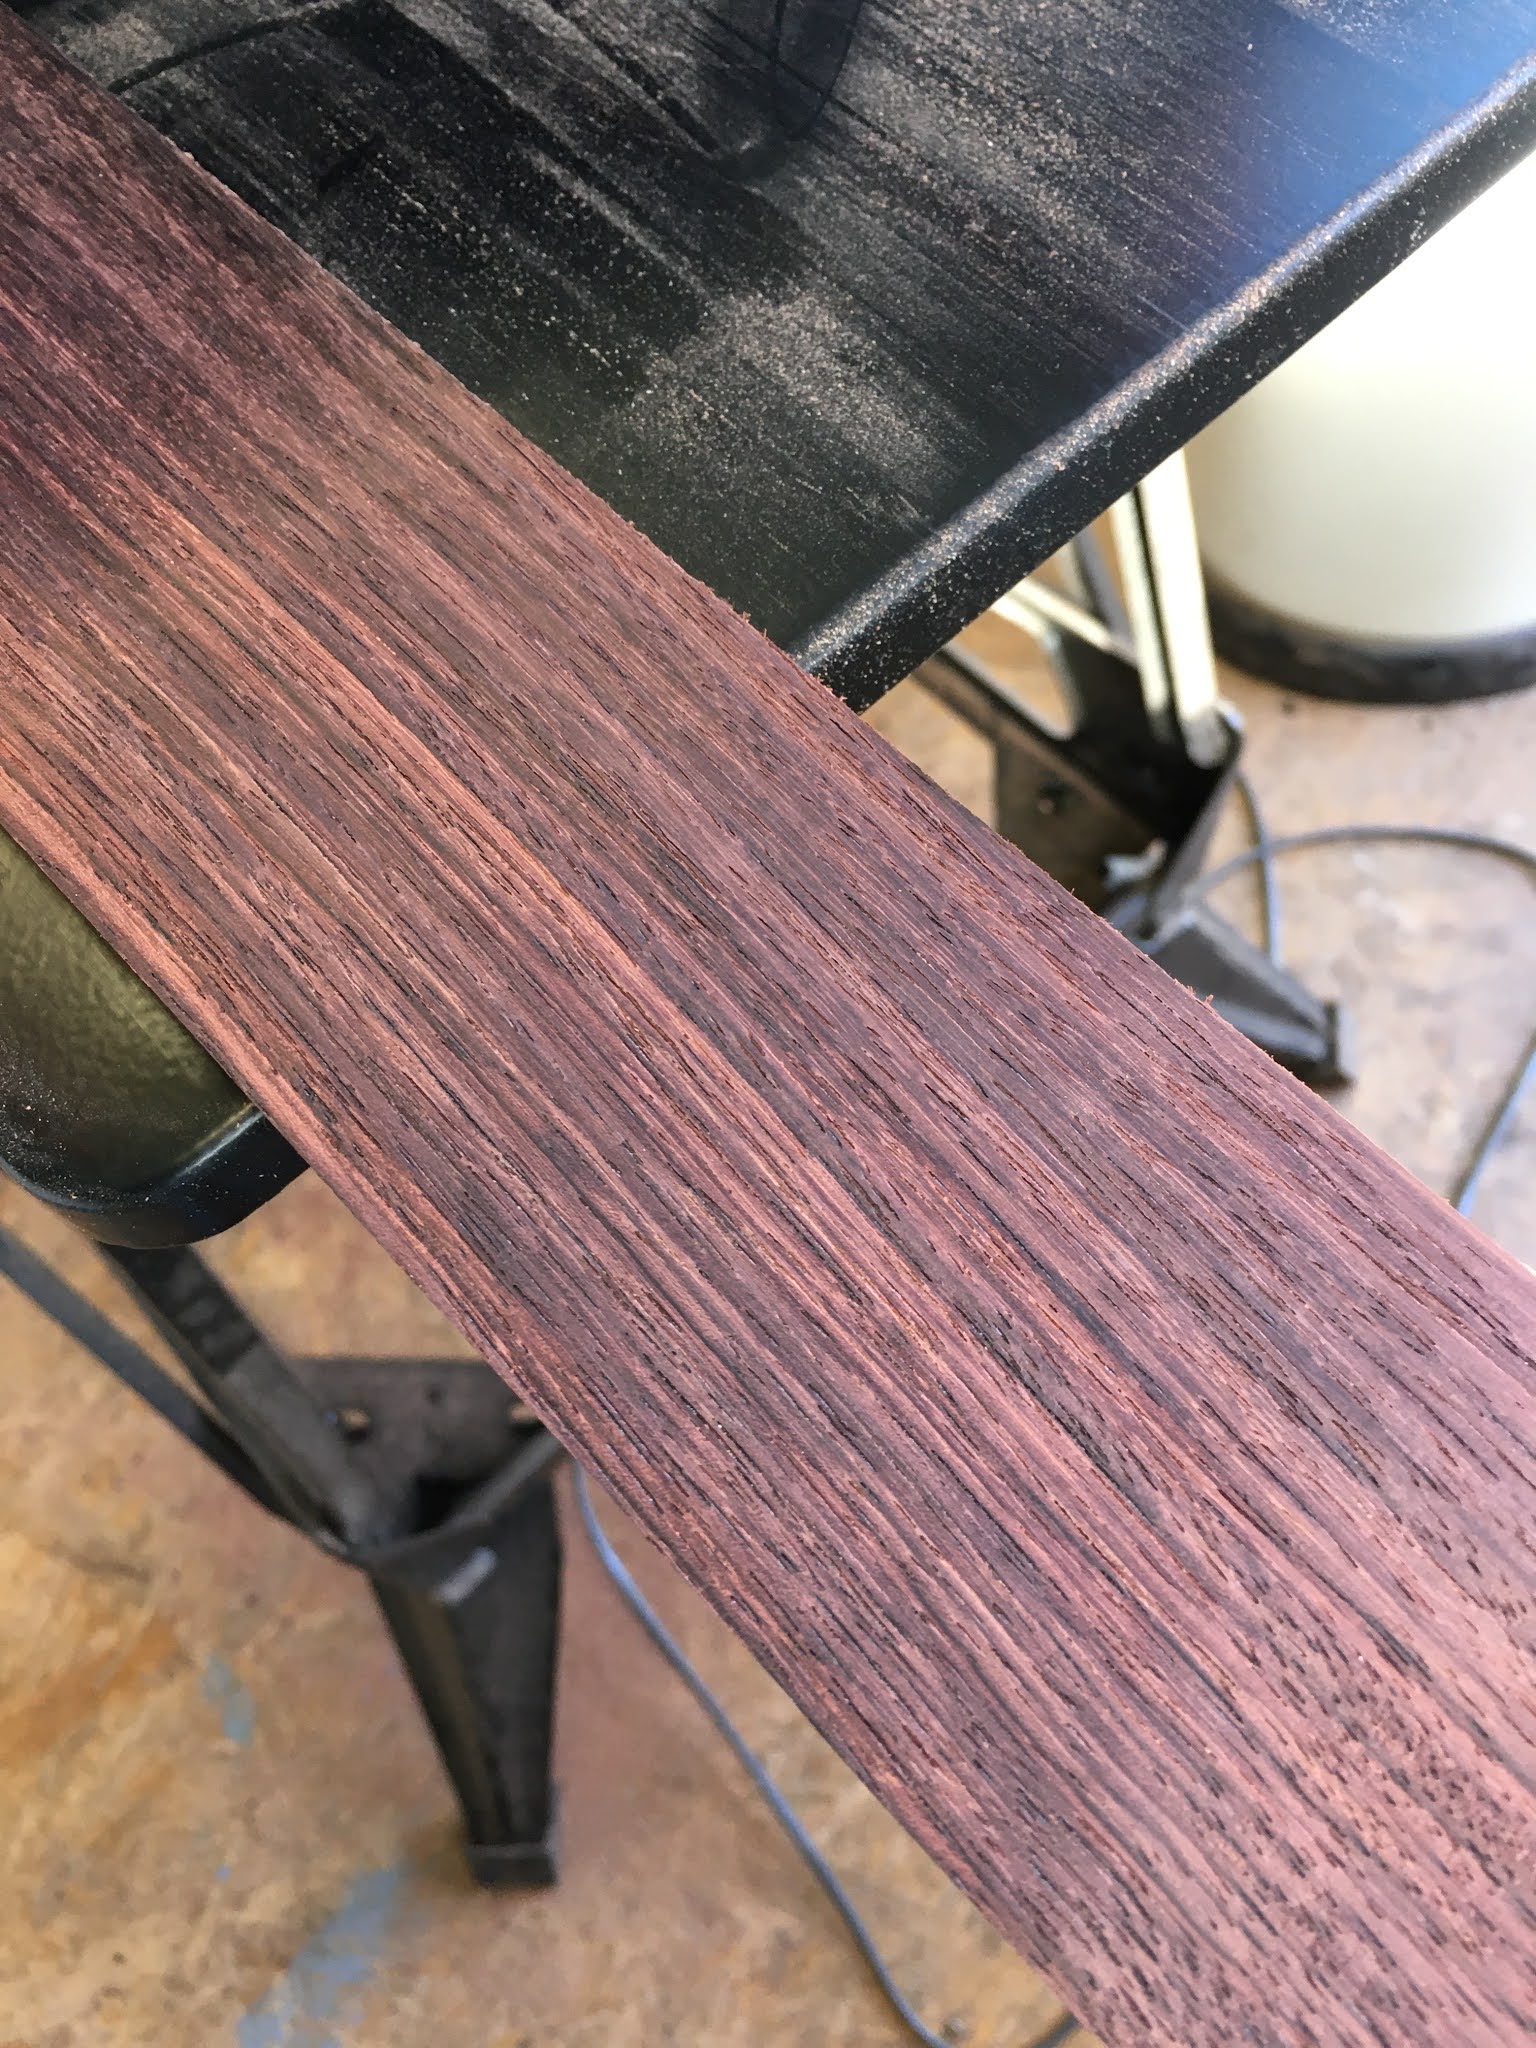
Now to make the new fingerboard, the first stage was to put the blank through the thicknesser and bring it down to the correct thickness. This really brought the grain pattern out nicely. Before and after shown below.


Then I planed one edge straight and square to use as the reference edge.


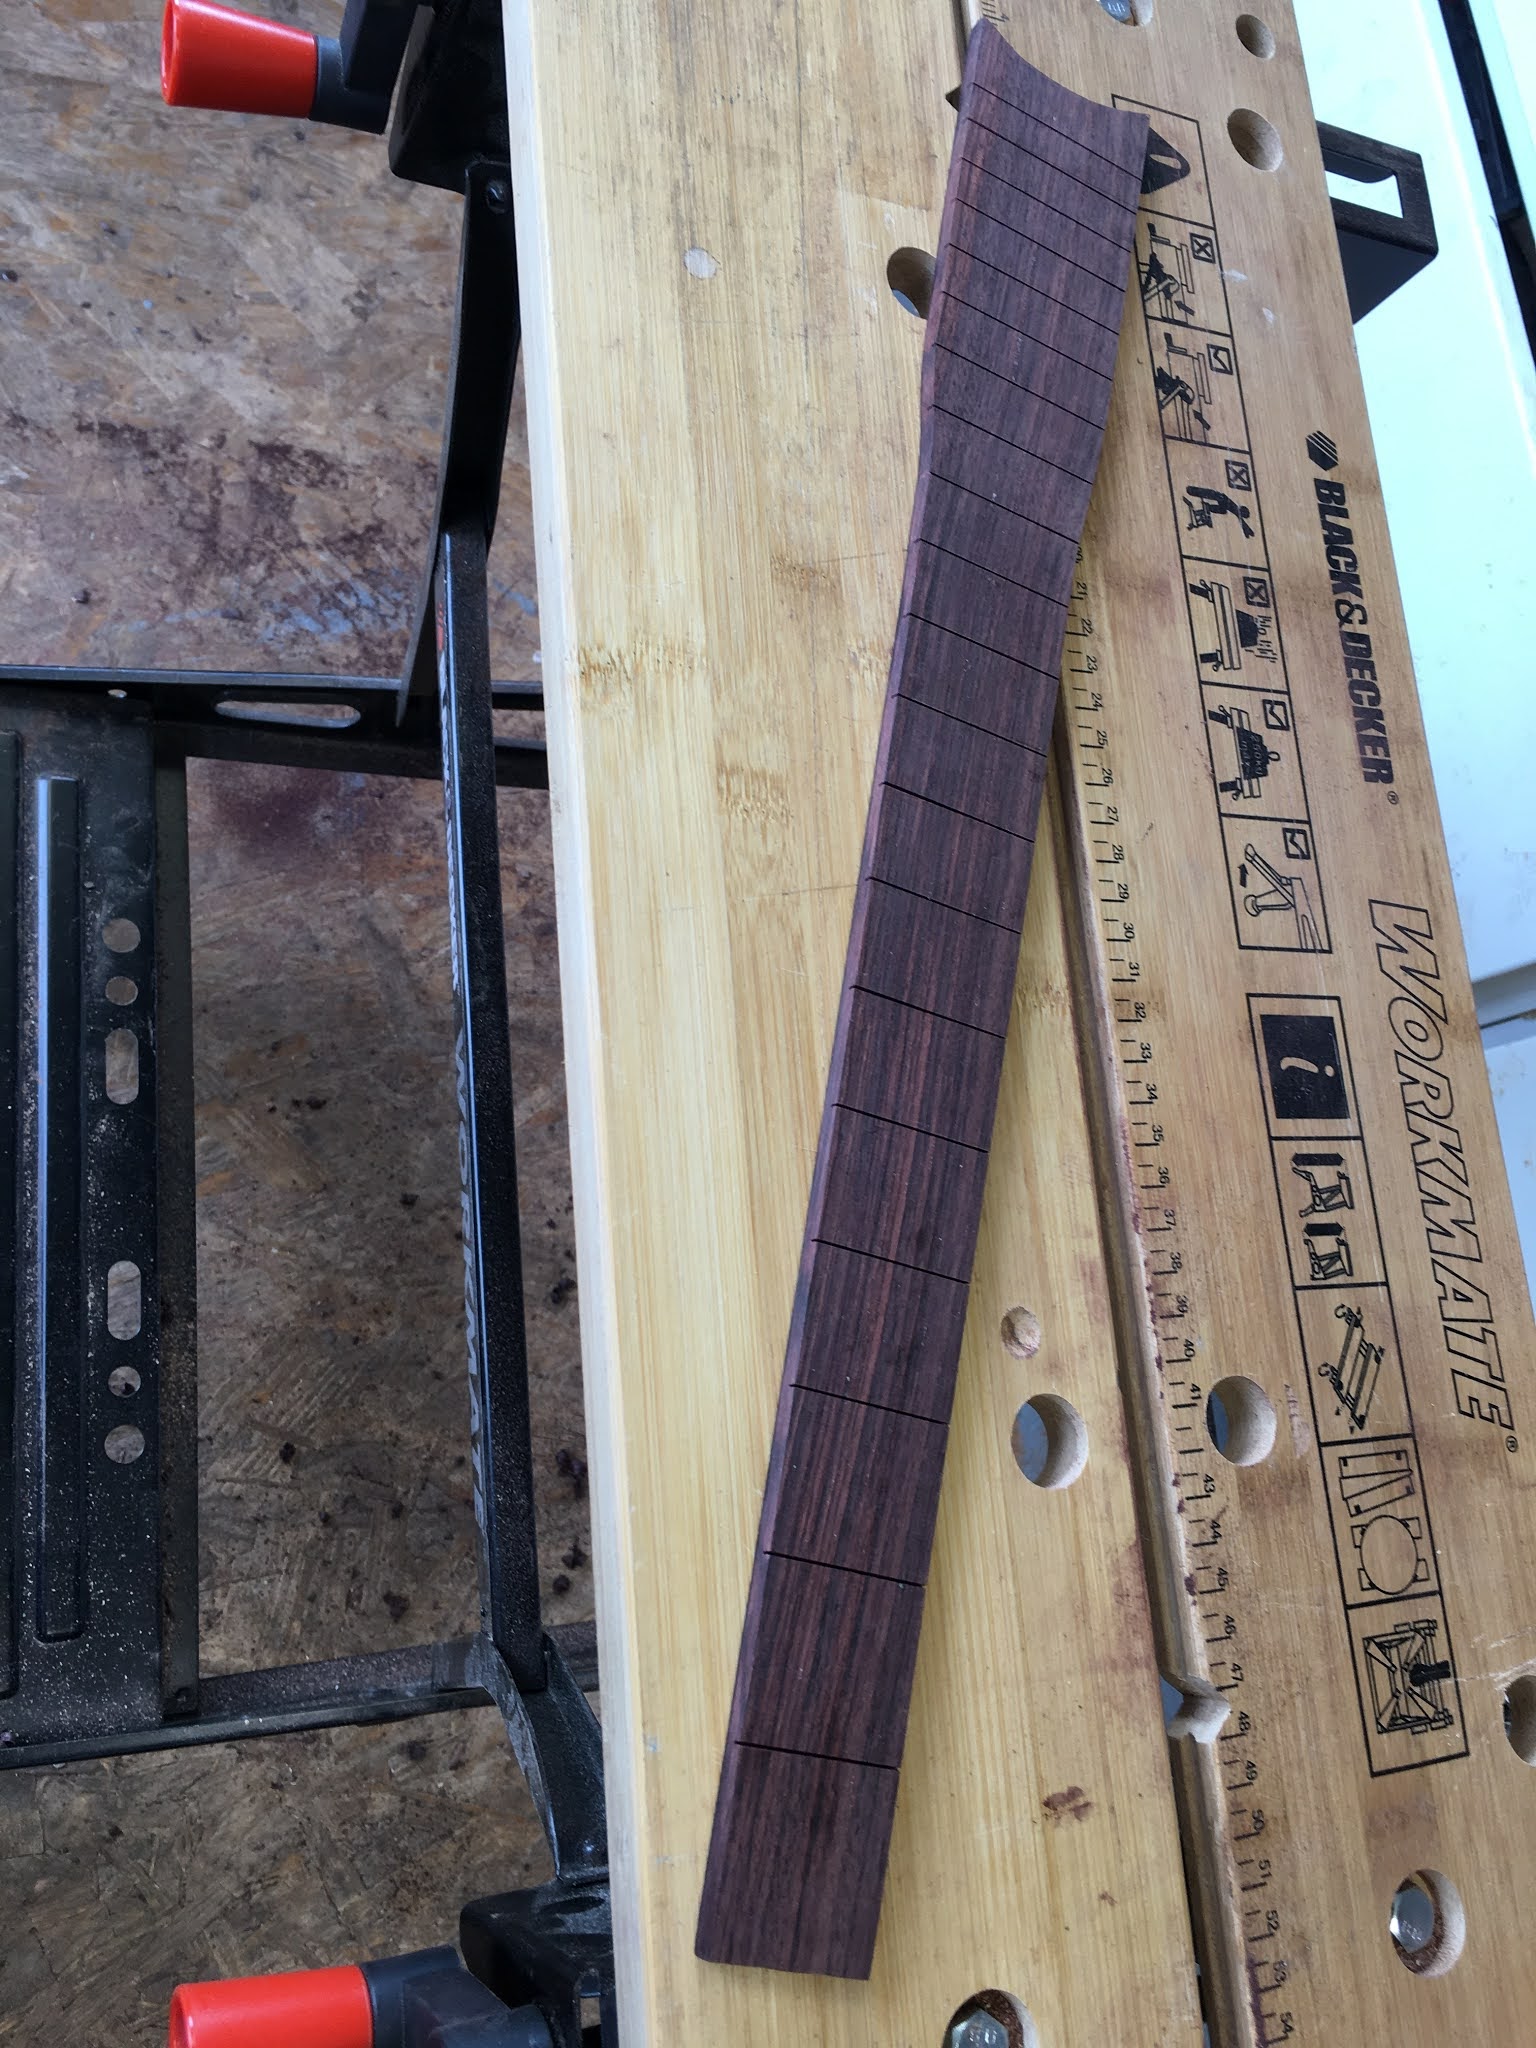
I clamped the old and new fingerboards to the bench, ensuring that the existing fret slots were pependicular to the new board and then used a square and a sharp craft knife to transfer each fret position across to the centre of the new board.


Then I used a small engineer's square to mark off the fret positions against the reference edge.


Time to introduce another new tool! The fret slots really need to be cut to a very precise width and depth, so I invested in a specialist fret saw with an adjustable depth gauge. I cut the slots VERY carefully, using the square as a "fence" to start. 


I love that point where you have made someting and it starts to look "proper", as if you had bought it ready made from someone!


Laying the new fretboard on the guitar, I carefully marked out the shape. It's more complicated than either a guitar or a bouzouki, which would both have straight, tapering edges. Because I am converting this, it needs to transition from a bouzouki width in the neck to a guitar width on the body (otherwise you would be able to see the unfinished body alongside the fretboard on the guitar). You can see the transition clearly on the photo below.


Then off to the bandsaw and, with some careful sanding after, I took the shape down to a fraction outside the finished size. That will allow me to sand back the neck and fingerboard to get a smooth finish at the boundary between the two. 

You can also see here that I extended the fingerboard down to meet the soundhole and finished it in a matching curve, which was to cover a piece of the top that had been damaged.


I'm pretty pleased with how that shape worked out to be honest. I spent a lot of time thinking that one through and pretty sure I came up with the best design compromise.


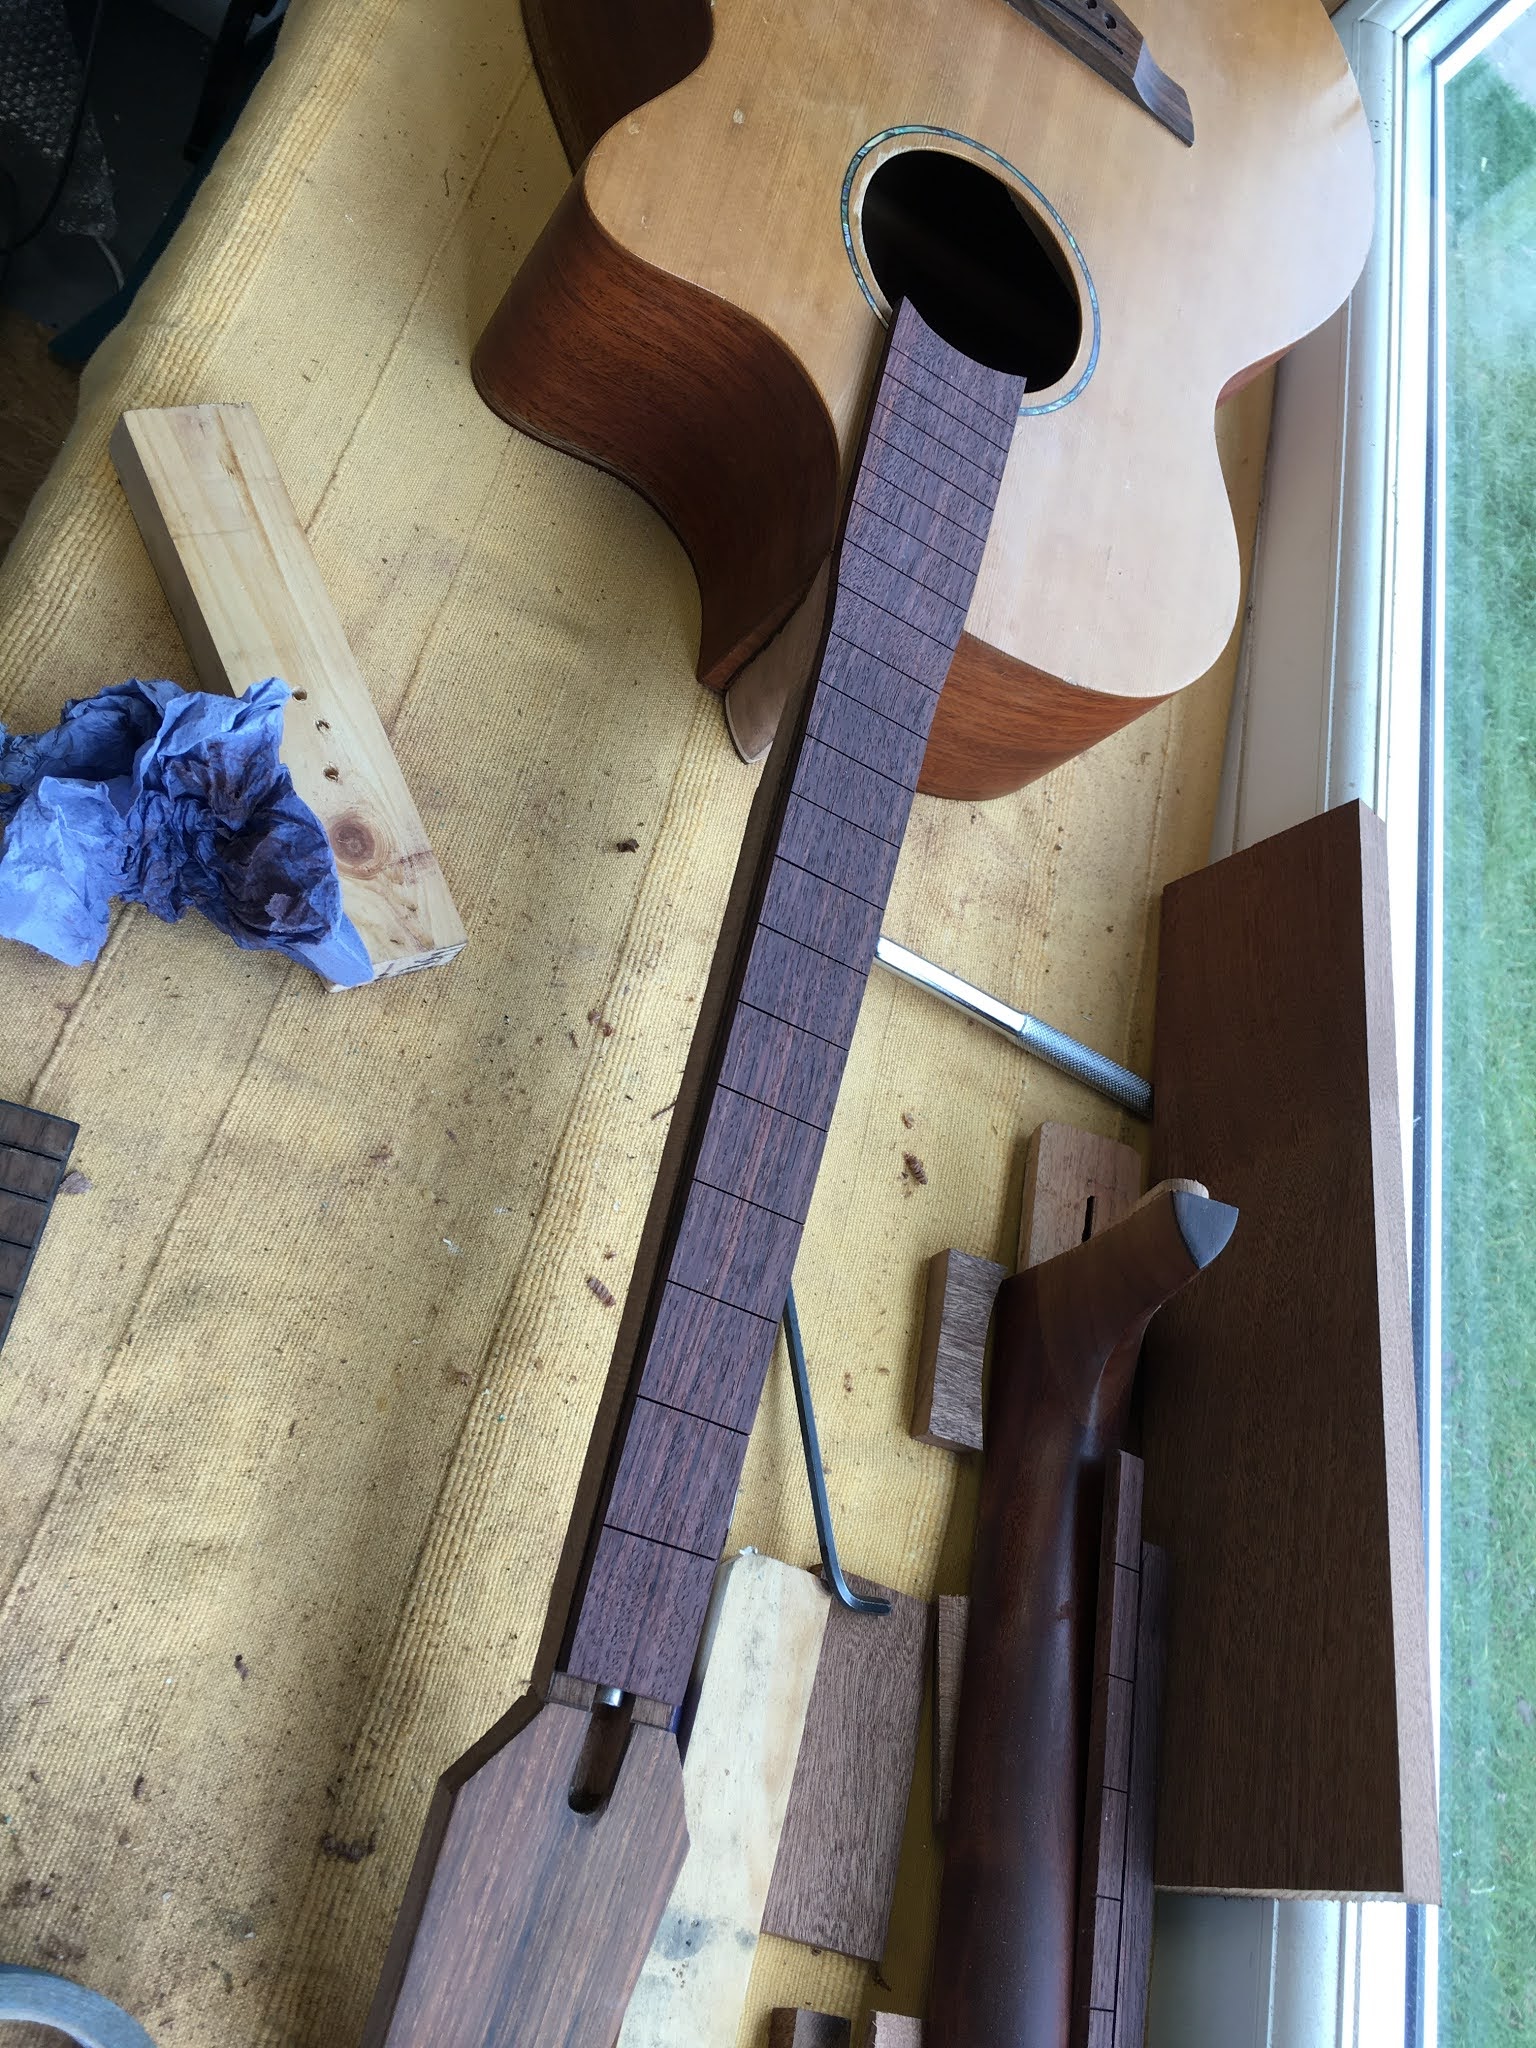
Now down a well practised part of glueing the fingerboard to the neck, using the clamps I made ages ago. 


Now it is definitely starting to look like a proper instrument again!


The Gouzouki Project - Carving the Heel

I had an enforced break from the gouzouki project for a while, as I was pretty fully occupied throughout March and April 2020, trying to help save the construction industry from the impact of a national shutdown for the Covid-19 pandemic. I never thought that I would be typing that! Returning to the workshop was a real relief and distraction during some very strange times.

I wasn't looking forward to this next job - carving the heel shape where it forms a graceful transition from body joint to neck. We shall see how graceful it ends up!

This is the kind of shape I am aiming to get to, drawn on the heel cap.It was important to keep the centre line reference throughout this, so that I didn't end up with a wonky transition.


I made sure that the neck was very firmly clamped in the WorkMate and mostly used a rasp  to get to the approximate shape. I stopped regularly to check that I was producing a balanced result around that important centreline. 

The first photo shows the old Faith neck to illustrate what I was trying to end up with. The pictures tell the tale really.


The Gouzouki Project - Head Overlay

I’m using a rosewood veneer which arrives fairly rough sawn.

My first attempt at reducing this down to thickness was to use the thicknesser (doesn't sound unreasonable, does it?) The only problem was that the minimum length the thicknesser can deal with is about 300mm and the rosewood blank was only about 200mm. So I developed a cunning plan to use double-sided tape to hold the blank onto a longer piece of softwood. This went catastrophically wrong! The thicknesser tore the blank from the softwood and spat it out the end, after comprehensively mashing it! As can be seen below ...


Fortunately, there was enough left undamaged and I then resorted to the belt sander to bring it down to the required thickness and smoothness. These photos show before and after sanding.


Then I temporarily clamped it in place so I could get the nicest grain alignment before trimming roughly to size. The end of the veneer that will rest against the nut needs to be sanded to an angle so using a square and adjustable angle let me find the right angle to set the sanding table at.


I only just had enough left after the trashing by the thicknesser!


Glueing and clamping, using a caul of scrap wood to spread the load across the whole area.


A quick tidy up on the belt sander after glueing, and then I extended the truss rod access channel using a round file - starting to look a bit decorative.


The Gouzouki Project - Shaping the Neck / Heel Cap

A scary bit of work today, with lots of potential to render everything I have done so far as scrap!

First I marked up my head shape onto the neck. I've chosen something nice and simple on the basis that something simple but well done will look better than something complex that I struggle to achieve.

I also transferred the design onto the back of the head as this will be easier to work to on the bandsaw. 

I also marked out the curve of the heel and the width of the neck. Today was definitely a "measure twice, cut once" day!

Then, onto the bandsaw, making sure that I've left plenty of tolerance to do the final shaping of everything later on ......


This was the first point where I thought the project was really going to work. It suddenly took on some beauty and form and, when I bolted it back on to the body (couldn't resist!), it really started to look like a distinctly different instrument with the slender neck and headstock.


I spent a couple of hours at this point finely shaping and finessing the neck/body joint. The lesson was to go slowly and check fit often. I used a sanding stick to gently alter the shape of the "cheeks" of the tenon, to bring the centre line of the neck into line with the centre of the bridge and also the horizontal angle to make sure that there would be enough, but not too much, string clearance. 

I glued on 2 contrasting layers of maple and rosewood veneer to add detail and bring the depth of the heel up to match the body depth.


The Gouzouki Project - How it Sounds Compared to Guitar and Bouzouki

Now that the Gouzouki project is finished, I thought it would be nice to compare guitar, bouzouki and gouzouki sounds. It’s not really a par...